

FileOptimizer
About FileOptimizer
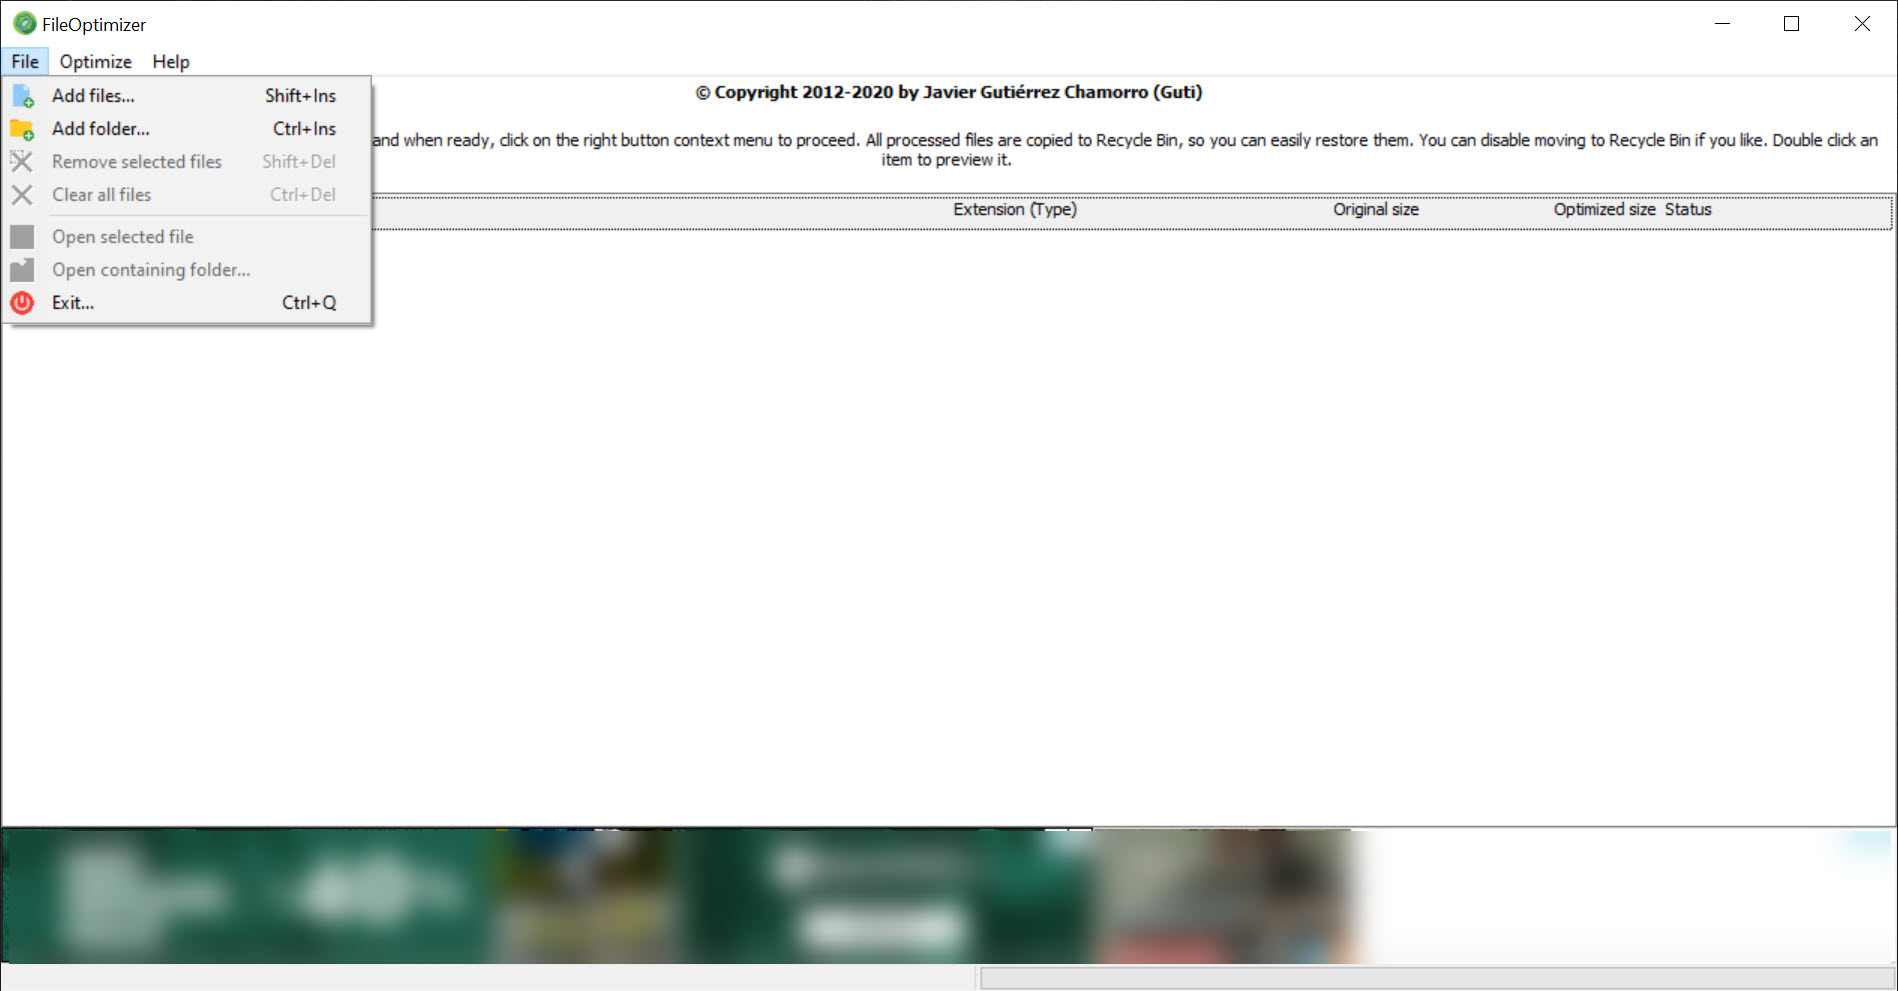
Most file size reduction tools handle one thing well. A JPEG optimizer. A PDF compressor. A PNG cruncher. FileOptimizer takes a different approach by bundling more than 90 specialized command-line optimizers behind a single drag-and-drop interface, then picking the right toolchain for each file based on its actual contents.
Drop a folder containing a mix of PDFs, JPEGs, ZIP archives, MP4 videos, SQLite databases, and Word documents, hit Optimize, and each file gets routed through the appropriate stack of compressors automatically.
The tool covers more than 600 file extensions and roughly a dozen broad categories (raster images, vector graphics, PDFs, office documents, archives, audio, video, executables, databases, web assets).
What gets compressed depends not on the file extension but on the actual file signature, so a JPEG with a .tmp extension will still be processed correctly, and a .zip file that turns out to be a Word document will be routed through the OLE toolchain instead.
How the plugin architecture actually works
FileOptimizer is a frontend. The real work happens in plugins like AdvanceCOMP, mozjpeg, jpegoptim, OxiPNG, pngquant, ECT, Ghostscript, ImageMagick, Leanify, mutool, pingo, qpdf, libwebp, FLAC, ffmpeg, OptiVorbis, UPX, and dozens more. Each plugin has its own strengths and quirks. The application chains them in a specific order per format, runs them all on the same file, keeps the smallest valid output, and discards intermediate results.
For a single PNG, the toolchain typically runs pingo, then OxiPNG (formerly OptiPNG), then PngOptimizer, then TruePNG, then ECT, sometimes with pngwolf-zopfli for extreme compression. Each plugin tries different filter combinations and Huffman tables, and the best result wins. The result is usually 5 to 30 percent smaller than what any single one of those tools achieves on its own, which is the whole point of running them as a chain rather than picking one.
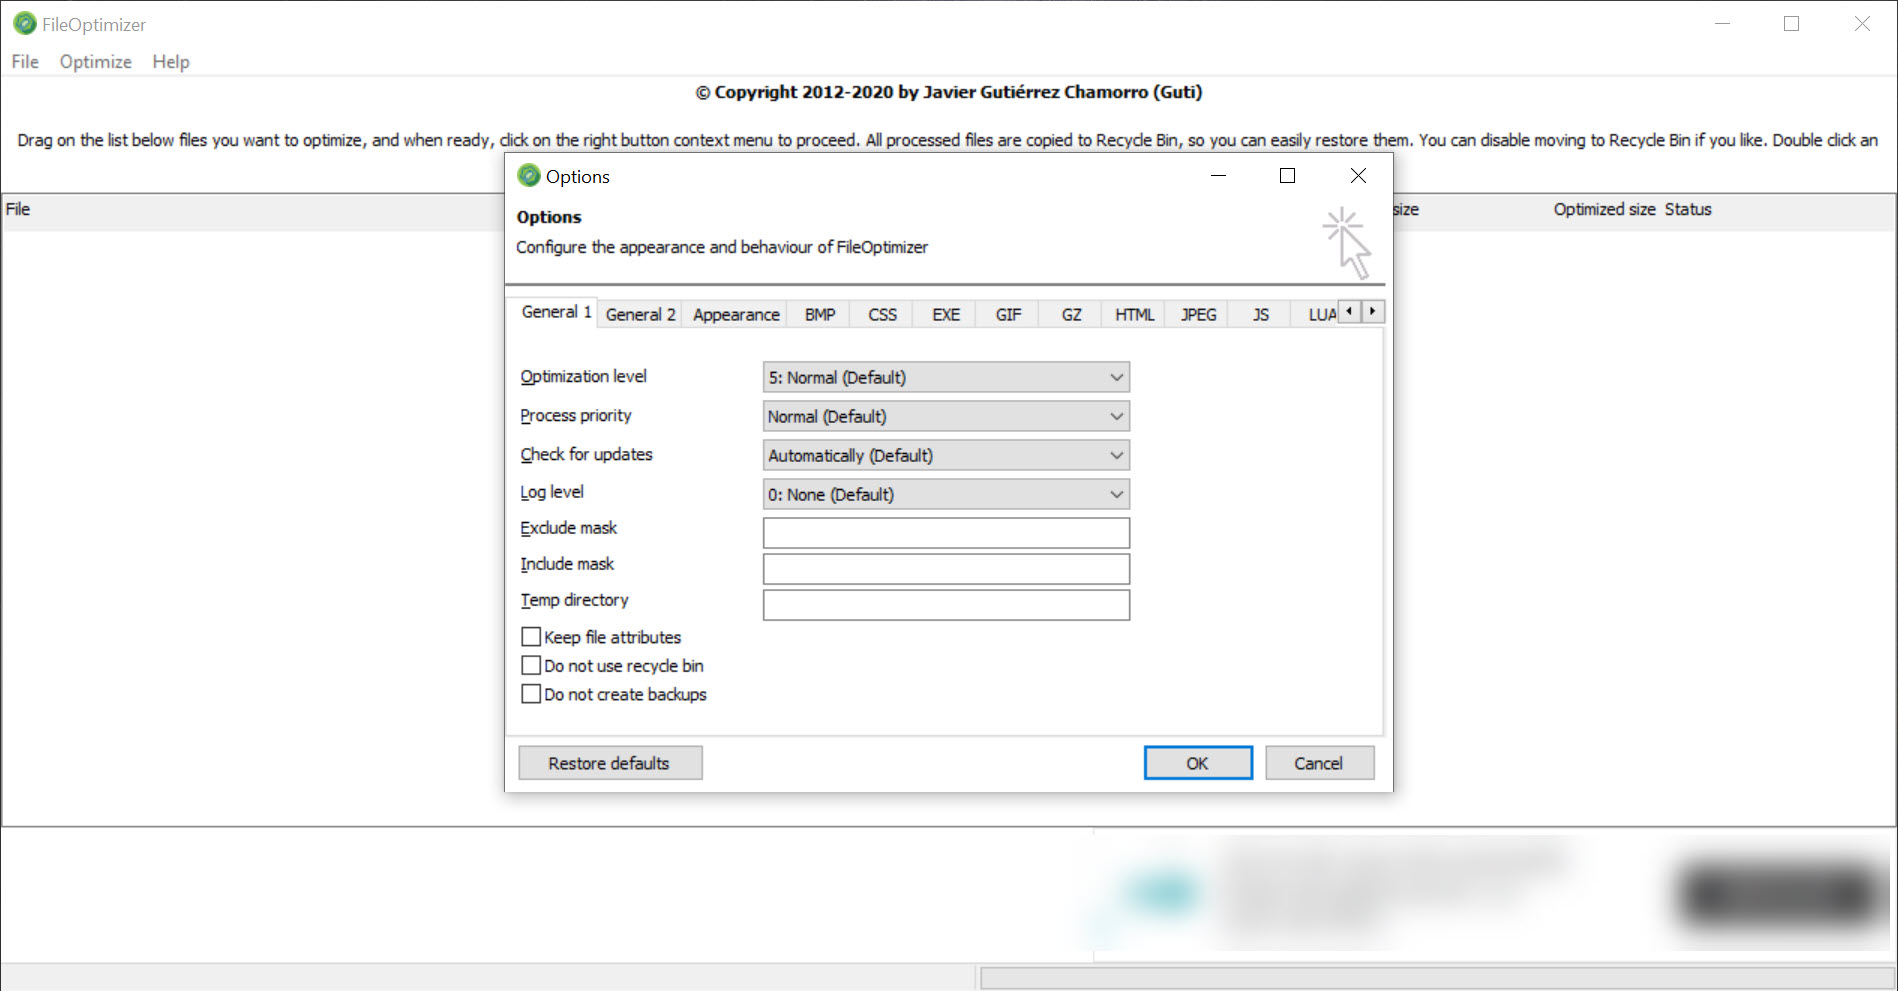
For PDFs the chain is mutool, qpdf, cpdf, and Ghostscript. For JPEGs it is pingo, jpegoptim, mozjpeg, ECT, and optionally jpegli. For ZIPs and ZIP-based formats (which includes .docx, .pptx, .xlsx, .epub, .apk, .jar, .ipa, and many others), AdvanceCOMP and Leanify handle the recompression. The compression level slider in Options controls how aggressive the toolchain runs. Level 1 is fast and gives most of the gain, level 9 takes considerably longer but squeezes out the last few percent.
Lossless by default and what that actually means
Every default operation in FileOptimizer is bit-for-perceptual-identical. A PNG comes out looking identical to the original. A JPEG decodes to the same pixel values. A PDF renders the same. The file is internally restructured (better Huffman tables, removed metadata, more efficient zlib parameters, deduplicated streams, optimized object ordering) but the rendered output does not change.
This matters because most “compression” tools you find online quietly resave JPEGs at lower quality or downsample PNG color depth. FileOptimizer does neither unless you explicitly enable lossy mode per format. You can flip lossy on for JPEG, PNG, GIF, or WEBP independently, each with its own setting.
Lossy PNG uses pngquant for color quantization, lossy JPEG uses jpeg-recompress with the SmallFry algorithm, and lossy GIF uses gifsicle-lossy. The line between lossless and lossy is explicit and per-format, which makes the tool safe to point at a folder of mixed content without worrying about quality damage.
There is one quiet exception worth knowing. PDF recompression through Ghostscript can downsample embedded images even when you do not ask for it, because Ghostscript reconstructs the PDF rather than editing it. The application has an option to mitigate this (the PDF profile setting), but if you need pixel-exact PDF preservation, you may want to disable Ghostscript and rely on mutool plus qpdf alone.
Smart detection that ignores file extensions
The most useful operational detail is how the tool decides which toolchain to apply. It opens each file, reads the signature bytes, and matches against an internal table. A file named screenshot.dat that starts with PNG\r\n gets the PNG toolchain.
A file named archive.zip that turns out to be a Microsoft Office document (OLE compound file) gets routed to the OLE toolchain instead. SFX archives (self-extracting EXE files containing 7-Zip data) are detected as such and skipped to avoid corrupting the executable wrapper.
This sounds like a minor convenience until you point the tool at a directory of files from various sources where extensions are unreliable. Backup software, ZIP-based document formats with custom extensions, and renamed media files all get handled correctly.
For batch image compression workflows, this is the part that scales.
Recycle bin backup and the safety model
By default, the application moves the original file to the Recycle Bin before writing the optimized version. If anything goes wrong, you have the original. You can disable this for speed or when working with large files that would clog the Recycle Bin, but the default behavior errs on the safe side.
There is also a separate cache that tracks already-optimized files so they are not re-processed on a second run. The cache stores the file path and a hash, so if you run FileOptimizer on the same folder weekly to catch new files, the existing optimized files get skipped instantly. The cache is persistent and survives restarts.
The command-line interface and silent automation
The GUI is the primary interface but the entire feature set is also available from the command line. You can pass a folder path, an INI override for any setting (compression level, lossy modes, plugin masks), and a /NOWINDOW flag to run completely silent. The exit code reflects success or failure, so this slots into batch scripts, scheduled tasks, or build pipelines without ceremony.
A web developer can run FileOptimizer as part of a deployment script to compress images and minify HTML/CSS/JS before pushing to production. A backup workflow can compress old PDFs to save space on archive drives. The INI file supports a DisablePluginMask setting that excludes specific plugins by name, useful when you know one of them produces output incompatible with your target reader.
Compared to maintaining a batch compression pipeline of standalone tools, the time savings on setup alone are meaningful.
Where the size savings actually come from
Realistic numbers depend heavily on the input. Files that are already well-optimized (a JPEG saved by mozjpeg, a PNG written by an aware encoder) typically see 0 to 5 percent additional savings. Files from consumer cameras, default Photoshop exports, Office documents with embedded images, or PDFs generated by Word, often see 20 to 40 percent reductions. Some PDFs from older scanners or with redundant fonts can drop by half or more.
Office documents are an interesting case. A .docx or .pptx is a ZIP archive containing XML and embedded media. The ZIP toolchain recompresses the archive itself with better deflate parameters, and the OLE handling inside can optionally recompress embedded images.
We have seen .pptx files with image-heavy slides drop from 80 MB to under 30 MB without any visible quality change. The files open in Office and look identical.
Performance and CPU usage
Optimization is CPU bound and slow. This is the tradeoff. Some plugins (pngwolf-zopfli at high settings, brute-force PNG filter search) can spend minutes on a single file.
The application is mostly single-threaded at the GUI level, although a few of the plugins (ECT with --mt-deflate, mp3packer, jpegoptim, gifsicle) use multiple cores internally. On a typical desktop, expect a few seconds per file for fast formats (JPEG, MP3, ZIP) and tens of seconds to minutes for aggressive PNG runs at level 9.
You can set the process priority to idle so the optimization does not interfere with foreground work, and there is a DisableSleep option to keep the system awake during long batches. Running it overnight on a folder of archives is the realistic workflow for level 9 settings.
Lossy modes when you need them
Each lossy mode is opt-in and per-format. Lossy JPEG runs jpeg-recompress with the SmallFry quality metric, which tries to find the lowest bitrate that still scores above a perceptual threshold. The results are often half the size of the original with no visible difference at normal viewing distances.
Lossy PNG goes through pngquant, which quantizes the palette to 256 colors using a perceptual algorithm, which can shrink a 24-bit PNG by 60 to 80 percent at the cost of subtle banding on smooth gradients. Lossy GIF uses gifsicle-lossy to drop frames or reduce per-frame palettes.
The choice to keep these behind explicit checkboxes rather than burying them in a “max compression” preset is the right call. It means a user running the tool on legal documents or technical screenshots never accidentally degrades them, while someone optimizing thumbnails for a website can flip the relevant switches and get aggressive savings.
What it does not do
This is not a real-time compression tool, an image editor, or a backup utility. It does not convert formats (a PNG stays a PNG, a WEBP stays a WEBP). It will not extract images from documents or generate thumbnails. It assumes you already have the files in the formats you want and you simply want them smaller.
It also does not handle truly modern container formats well in all cases. JPEG XL support is present through ImageMagick but limited. AVIF is supported but the toolchain is less mature than for JPEG or PNG. For these formats, dedicated tools may still produce better results.
Conclusion
FileOptimizer is the right tool when you have a large pile of mixed-format files and want them smaller without thinking about which compressor matches which format. Web developers preparing assets for deployment, archivists consolidating document collections, anyone managing a media server, and people who simply want their Downloads folder to take less space will get tangible value out of it.
The combination of 90-plus plugins and smart content detection means the user does not need to know which optimizer is best for a given format, the application picks correctly on its own.
What you trade for that breadth is time and a busy options dialog. The tool is not a quick utility you click once and forget. It is a batch processor you point at a folder and let run for a while, and the longer you let it work, the better the results. For occasional casual use that workflow may feel like overkill, but for anyone who handles file size as a recurring concern, the savings add up over months in ways that lighter tools cannot match.
Pros & Cons
- Routes each file through a chained sequence of specialized optimizers automatically, giving better results than any single tool
- Detects file type by signature, not extension, so renamed and misnamed files still get the right treatment
- Lossless by default with per-format opt-in lossy modes
- Supports more than 600 extensions across images, documents, archives, audio, video, executables, and databases
- Full command-line interface with INI overrides for every option
- Original files preserved in the Recycle Bin by default for safe rollback
- Cache prevents re-optimizing already-processed files
- Open source under AGPL, completely free for personal and commercial use
- Slow at high optimization levels, especially for PNG and ZIP
- Mostly single-threaded at the GUI level, leaving modern multi-core CPUs underused
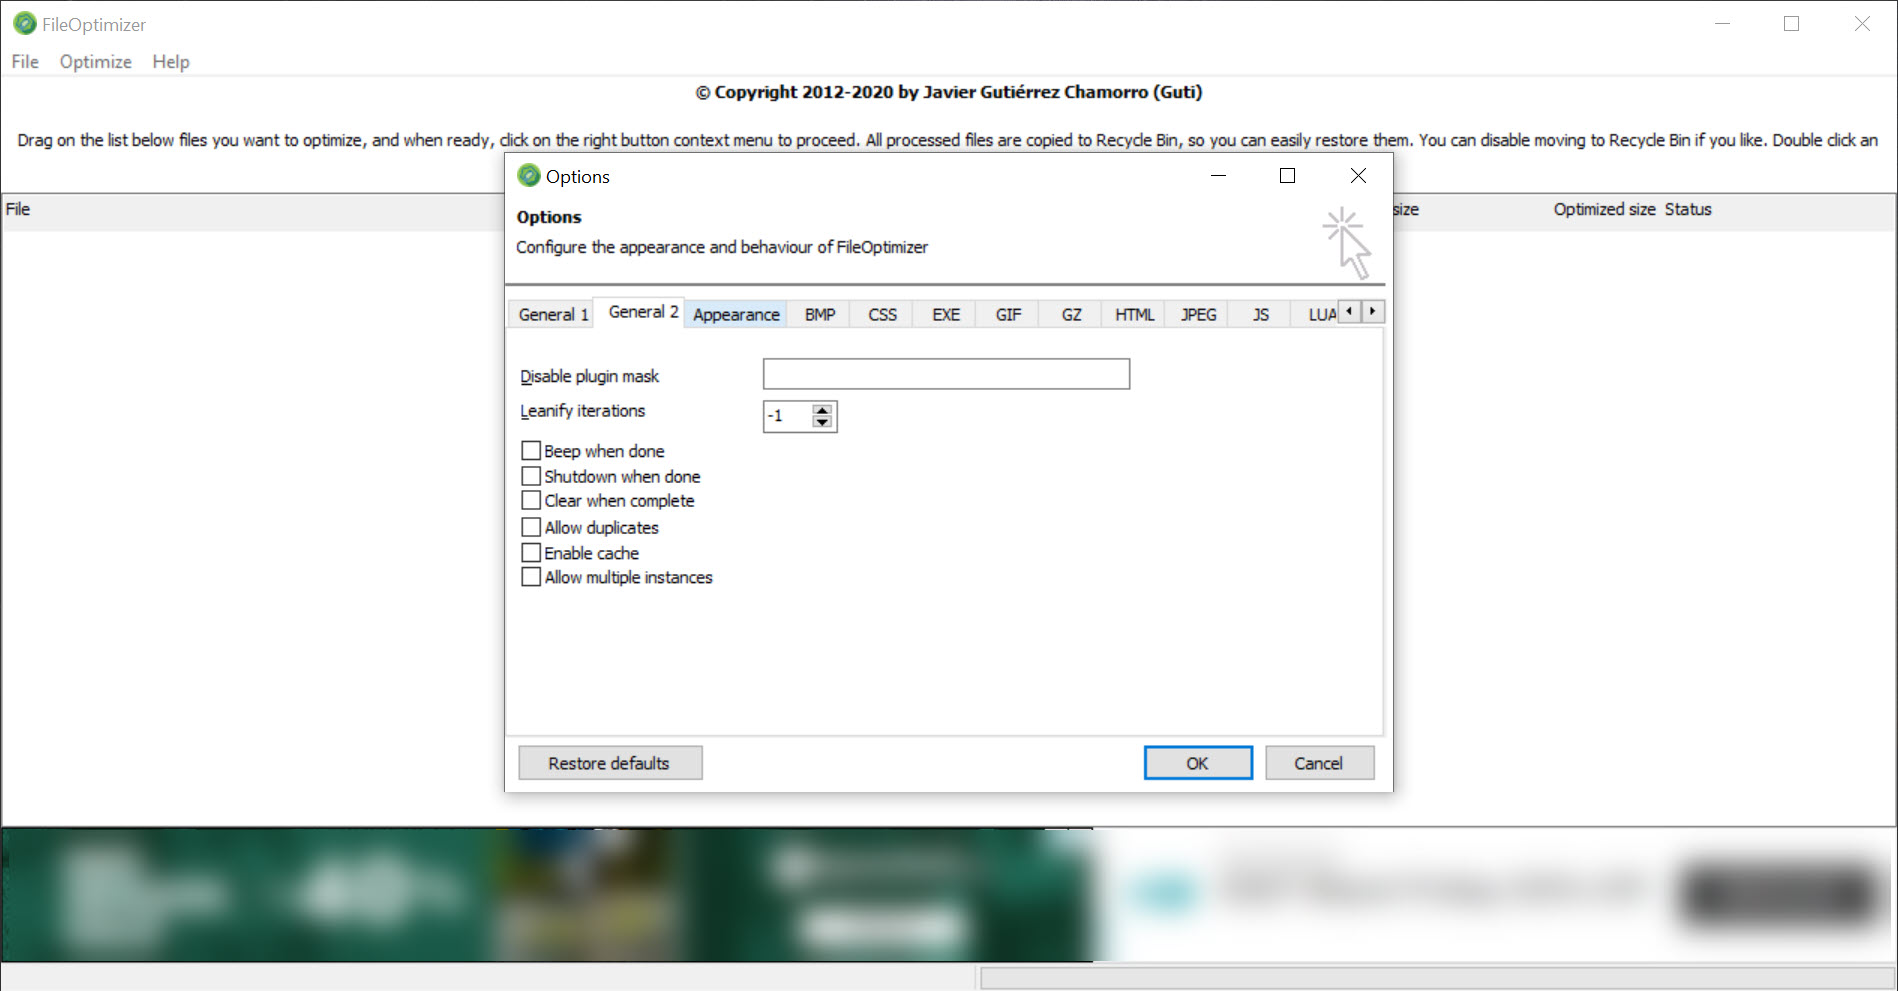
- The Options dialog has dozens of toggles spread across many tabs, which can overwhelm first-time users
- Ghostscript may downsample embedded PDF images even in lossless mode, requiring manual plugin exclusion
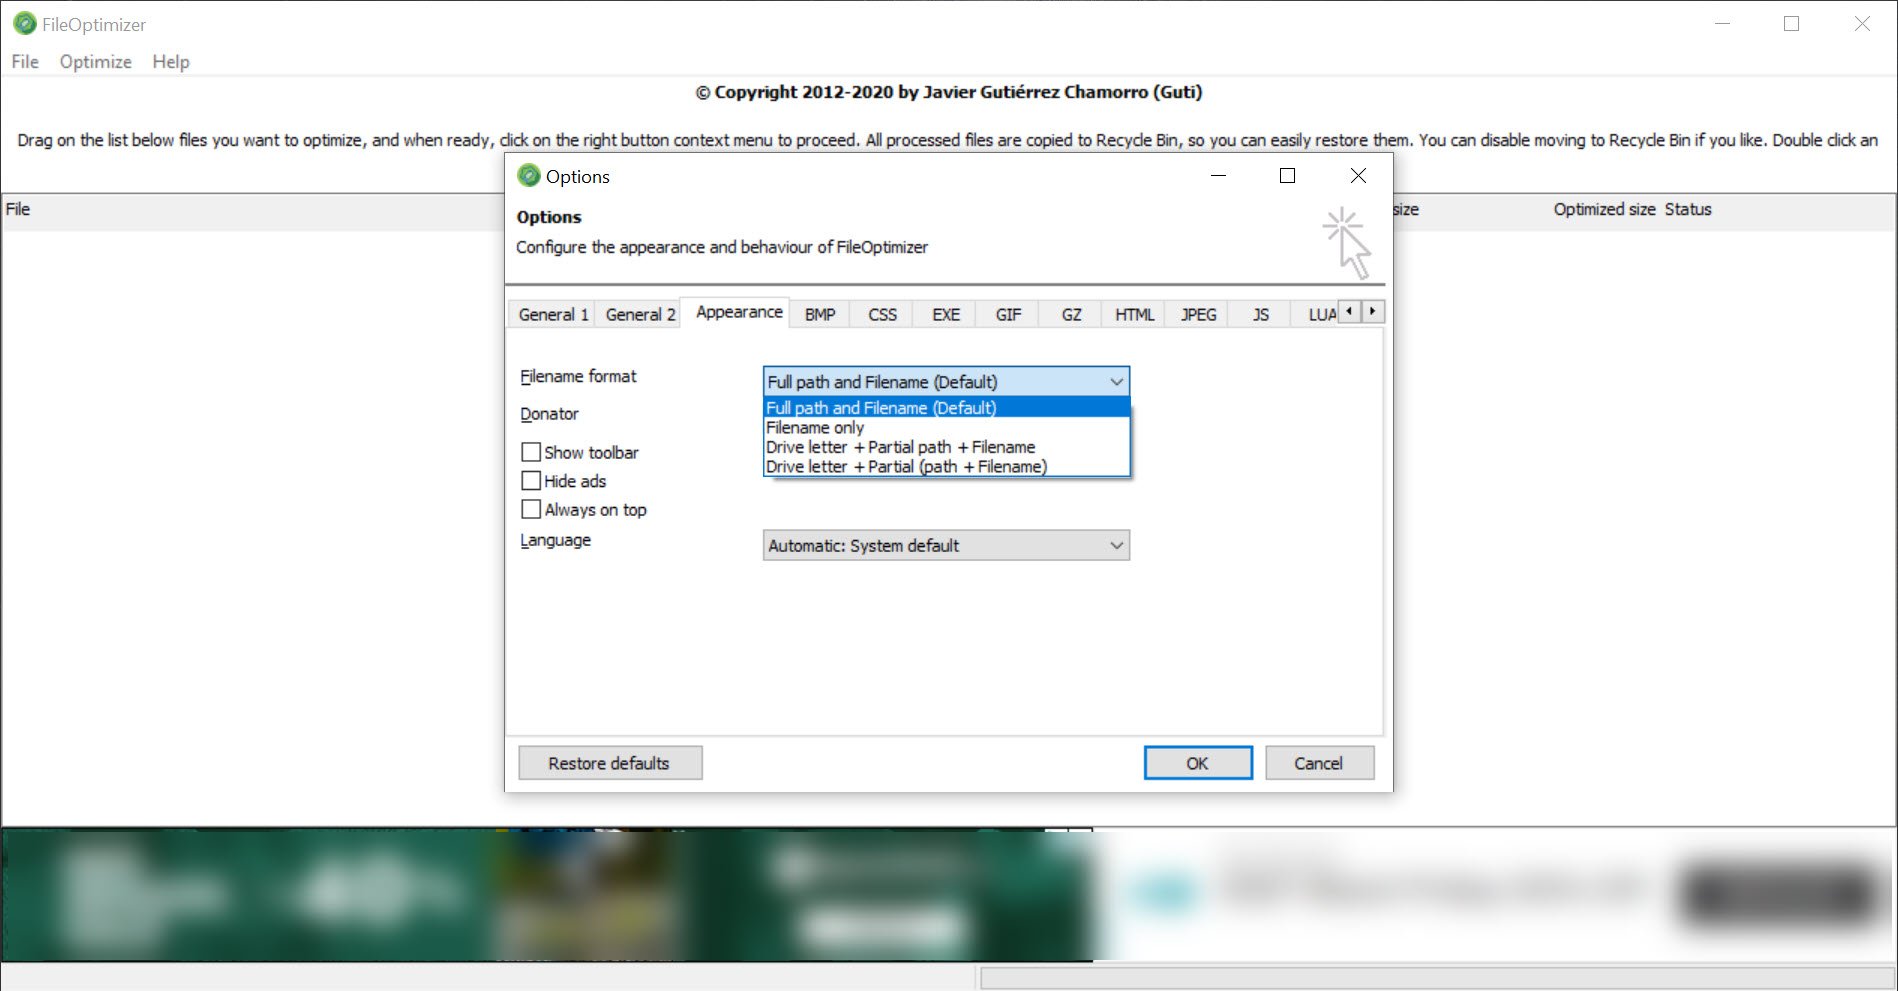
- Display ads appear by default unless you donate or disable them in Options
- Newer formats like JPEG XL and AVIF have less mature optimization paths than legacy formats
Frequently asked questions
For already-optimized files, expect 0 to 5 percent. For consumer-camera JPEGs, default Photoshop exports, and Office documents with embedded images, expect 20 to 40 percent. Some PDFs and older archive formats see reductions of 50 percent or more.
Not by default. The application runs in lossless mode, meaning the output decodes to the same pixel values as the input. Lossy modes exist for JPEG, PNG, GIF, and WEBP but each is a separate opt-in checkbox.
The application runs the file through a chain of multiple compressors at the chosen optimization level. At level 9, this can mean minutes per file for formats like PNG where brute-force filter search is involved. Lower levels run in seconds.
Yes, the entire interface is available from the command line. You can pass a folder, override any INI setting via command-line argument, and use /NOWINDOW for silent execution. Exit codes report success or failure for batch automation.
By default, the original is moved to the Recycle Bin and the optimized version is written in its place. This behavior is configurable. You can disable Recycle Bin backup or change how file attributes (timestamps, read-only flag) are preserved.
It reads the first few bytes of the file and matches the signature against an internal table. The extension is ignored. A file named data.bin that starts with the PDF signature will go through the PDF toolchain.
Yes, lossless output is bit-compatible with the original format specification. An optimized JPEG still decodes correctly in any JPEG reader, an optimized PDF opens in any PDF viewer, an optimized .docx opens in Word. The optimization is internal to the file structure.


