Cura


 (154 votes, average: 3.63 out of 5)
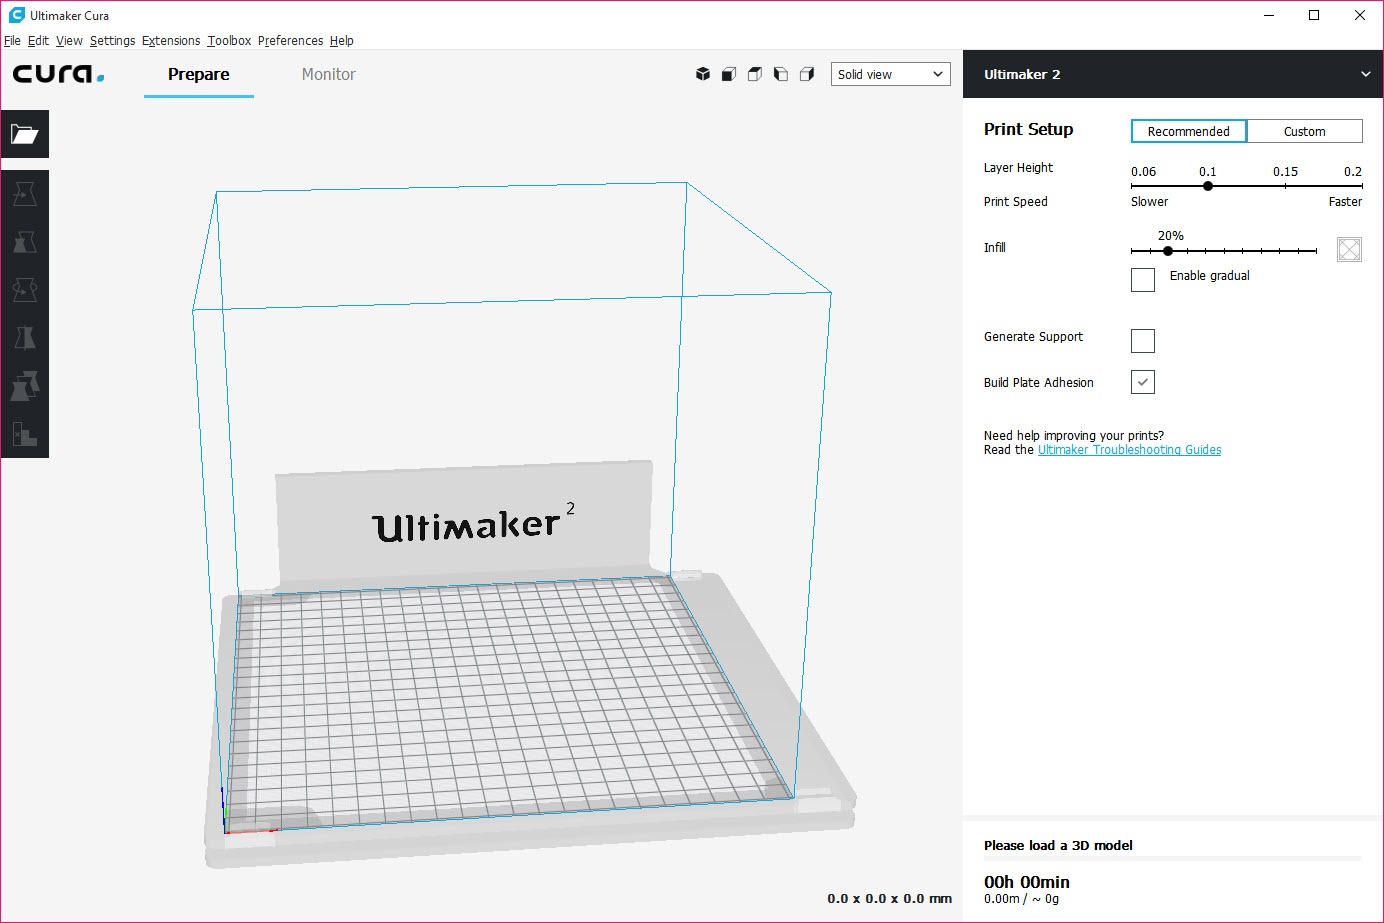

About Cura
A 3D printer cannot read a 3D model. It reads G-code, a long list of coordinates and instructions telling the nozzle where to go and how much plastic to push. Cura is the program that sits between those two things, taking your STL or OBJ and slicing it into hundreds of horizontal layers the printer can actually build. It is the most widely used slicer in desktop 3D printing, and for a lot of people it is the first piece of software they ever open after unboxing a machine.
What makes Cura approachable is that it hides its own complexity until you ask for it. Open a model, pick a quality preset, hit slice, and you are printing. But underneath that one-click surface sit more than 400 individual settings, and the gap between those two experiences is the whole story of this software.
It can be a toaster or a cockpit, depending on which mode you are in.
Recommended mode versus custom mode
The interface splits into two worlds. Recommended Mode gives you a handful of sliders, layer height, infill percentage, whether you want supports, whether you want a brim for adhesion, and leans on preset profiles to fill in everything else. For a beginner printing a benchy or a phone stand, that is genuinely all you need.
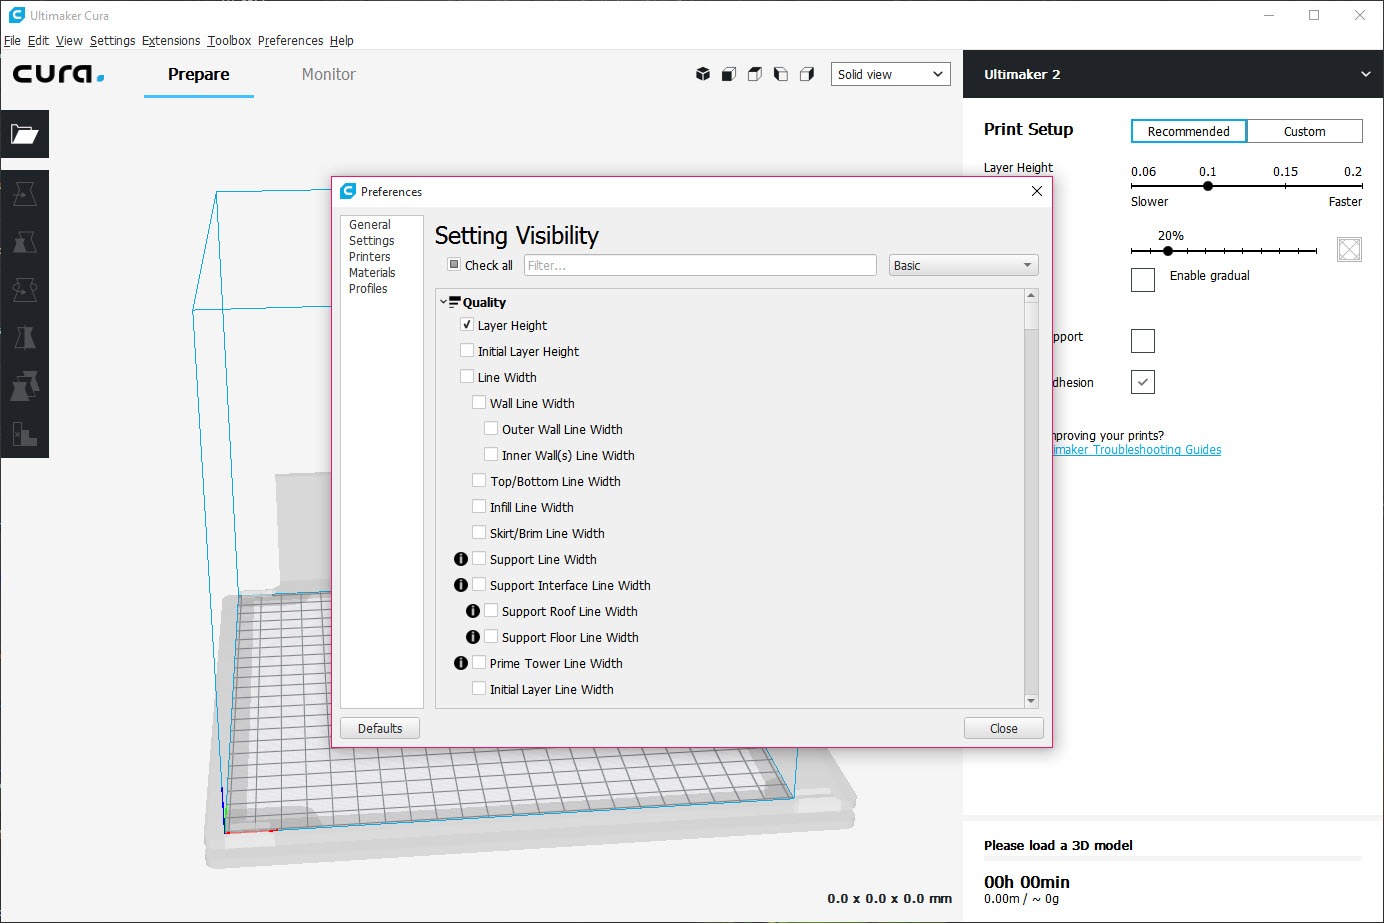
Custom Mode is where Cura opens up the full 400-plus settings: wall thickness, print speed per feature, retraction distance, cooling fan curves, flow rates, seam placement, the lot. It is a lot to stare at the first time. The saving grace is a Marketplace plugin called Settings Guide that adds plain-language tooltips explaining what each setting does when you hover over it. If you are learning, installing that one plugin first does more than any tutorial.
The application does not hold your hand here otherwise, and the sheer number of options is as much a liability as a strength when you do not yet know which three of them are causing your stringing.
Supports, and why the tree kind matters
Every slicer generates support structures for overhangs, but Cura has a particular edge with its tree supports. Instead of building a forest of straight vertical pillars under every overhang, tree supports grow organic, branching trunks that reach up to touch only the points that need it. They use less filament, and they snap away far more cleanly. For miniatures, figurines, and anything with curved organic geometry, this is the feature that quietly produces better results than most competitors, and recent updates made the branches less prone to toppling mid-print.
You still get full control over the conventional supports too, pattern, density, overhang angle threshold, interface layers between the support and the model surface. And you can paint support on or off manually when the automatic detection puts it somewhere you do not want.
If your model came out of a sculpting tool like Meshmixer or Blender, the import-to-support workflow is smooth enough that you rarely need to bounce back to fix geometry.
Per-model control and the modifier mesh trick
Here is a capability a lot of people never discover. Cura lets you apply different settings to each object on the build plate, so you can print one model at fine 0.1mm layers and another at fast 0.3mm layers in the same job. It goes further with modifier meshes, where you draw an invisible box around part of a single model and change the settings only inside that region.
Want solid infill just around a screw hole while the rest of the part stays at 15%? That is a modifier mesh. It is the kind of granular control that turns a slicer from a converter into an actual design tool, and it pairs well with parts coming out of a parametric CAD program like FreeCAD.
File formats, dual extrusion, and the Marketplace
On the import side, Cura handles the usual STL, OBJ, and 3MF along with AMF, PLY, Collada, and glTF, and it can even take a flat JPG or PNG and extrude it into a 3D relief, handy for lithophanes. Dual-extruder printers get proper support, with independent temperature and retraction per nozzle for multi-material or two-color prints.
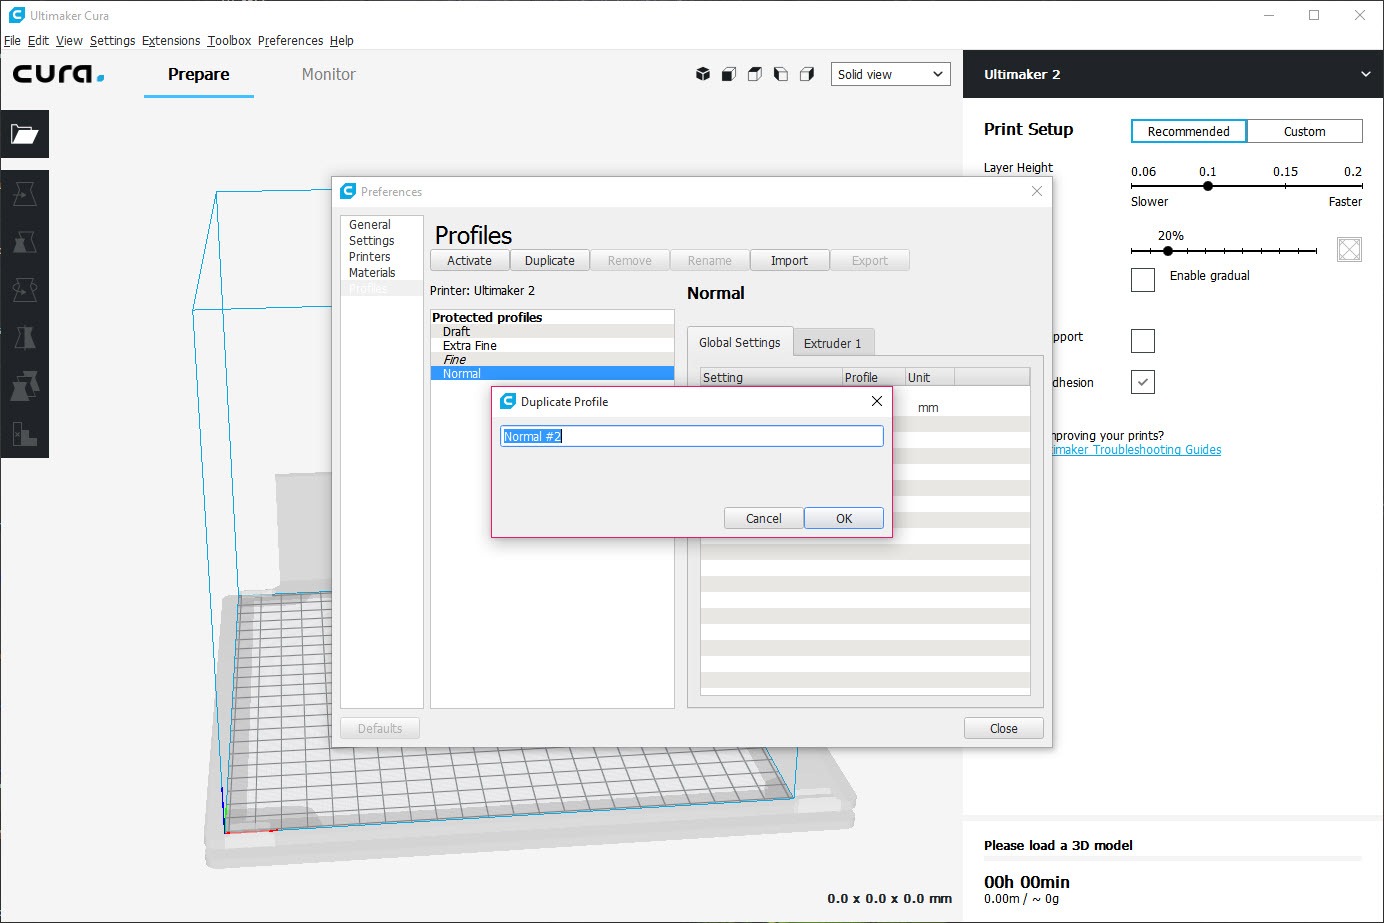
The Marketplace is where you extend the thing. Beyond the Settings Guide, the Post Processing plugin lets you inject G-code modifications like pause-at-layer, which is how you do a manual filament swap for a two-color print on a single-extruder machine. There are calibration shape generators, mesh repair tools, and printer management add-ons.
Worth being honest, though, the plugin ecosystem has lost some momentum, and a few once-popular add-ons have not been touched in a long while. It is still useful, just not as lively as it once was.
Broad printer support, with a catch
Cura ships with profiles for hundreds of printers, Creality, Prusa, Anycubic, Bambu Lab, Elegoo, and its own UltiMaker machines, and you can hand-configure any FDM printer it does not recognize. Print time and filament weight estimates come baked in, which helps you plan and budget a job before committing six hours to it.
The catch is the tilt. Development increasingly favors UltiMaker’s own hardware, and the profiles for third-party printers are largely community-maintained, which means they can lag behind firmware changes or be slightly off for your exact machine.
The other honest gripe is performance. Cura is slow to launch, often taking fifteen to thirty seconds to open, and the interface can lag when you flip between settings on older hardware. Newer slicers like OrcaSlicer and PrusaSlicer feel snappier and have pulled a chunk of the enthusiast crowd away for exactly that reason.
Conclusion
Cura is the slicer to learn on and, for many makers, the one they never feel a need to leave. The combination of a true one-click beginner mode and 400-plus expert settings means it grows with you, and its tree supports remain a standout for anyone printing detailed or organic models. Hobbyists, educators, and anyone running a mixed fleet of printers will find it covers nearly everything they ask of a slicer.
It is not the fastest or the most modern option anymore. If launch speed and a snappy interface matter most to you, or you run a Klipper-based machine and want bleeding-edge control, the newer slicers have a real case.
But for a free, deeply capable tool with a massive community behind it and the gentlest possible on-ramp for beginners, very little else competes on range. The rough edges are real, the foundation is still excellent.
Pros & Cons
- Recommended Mode makes first prints genuinely one-click, while Custom Mode exposes 400-plus settings for full control
- Tree supports use less filament and remove far more cleanly, especially on organic and miniature models
- Per-model settings and modifier meshes allow different parameters within a single print job
- Wide format support including STL, OBJ, 3MF, and 2D image-to-relief conversion
- Dual-extruder handling with independent nozzle settings for multi-material and multi-color prints
- Built-in print time and filament cost estimates help plan jobs before printing
- Slow to launch, often fifteen to thirty seconds, with interface lag on older hardware
- The 400-plus settings overwhelm newcomers without the Settings Guide plugin installed
- Plugin Marketplace has slowed, with some popular add-ons left un-updated
- Third-party printer profiles are community-maintained and can fall behind firmware changes
- Development increasingly favors UltiMaker's own printers over the broader ecosystem
Frequently asked questions
It slices a 3D model (STL, OBJ, 3MF, and others) into the layered G-code an FDM printer needs to build the object. It also lets you tune quality, speed, supports, and material settings before printing.
Yes. The software includes profiles for hundreds of printers from brands like Creality, Prusa, Anycubic, and Bambu Lab, and you can manually configure any FDM printer it does not already list.
Tree supports grow branching structures that touch only the points needing support, so they use less filament and snap away cleanly without marring detailed organic surfaces. That makes them ideal for figurines and curved models.
Yes. Using modifier meshes, you can define a region within a single model and change settings only inside it, such as adding solid infill around a stress point while keeping the rest light.
Install the Post Processing plugin from the Marketplace and add a pause-at-layer script. The printer stops at the layer you choose so you can swap filament, then resumes with the new color.
The application carries a heavy interface and loads a large settings and profile database at launch, which can take fifteen to thirty seconds, longer on older machines. It is a known trade-off against the depth it offers.
Cura 5 does NOT work on Windows 7. In fact, it doesn’t even fire up. Not sure about 8 or 8.1.